The master teaches you how to DIY USB disk with simple materials and make the finished product at your will!
It is worried that there are various U-disks with different quality and fake brands in the market. In order not to lose valuable data, it is necessary to create one personalized USB flash disk.
The specific operation is as follows:
Firstly you have to prepare the following materials and tools:
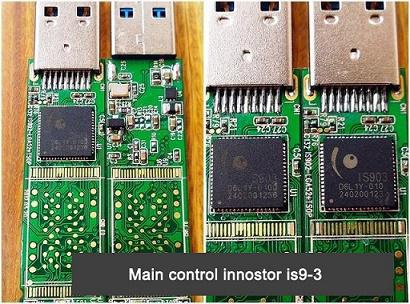
1、A piece of U disk controller (We need controller for USB 2.0 or USB 3.0 and we recommend controller IS903 for USB3.0 which is around $3)
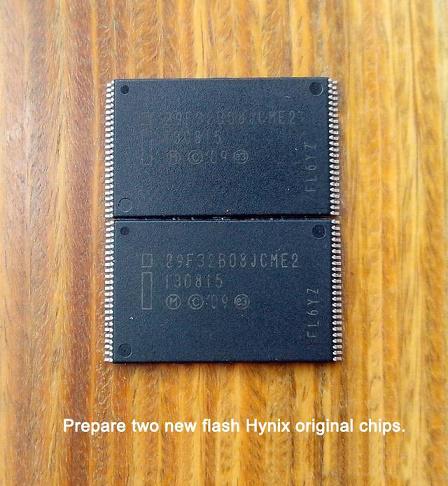
2、Two pieces of Flash (You can just prepare one piece flash, and choose Intel, Samsung, Micron, Hynix, Toshiba or the other brands. The capacity will be selected by your demand.)
3、Electric iron (We recommend OLED+T12-K tool bit)
4、Solder wire (The solder wire should be selected for good fluidity, which is beneficial to drag weld.)
5、Scaling powder and small clips (This can assist you align pins with pads and avoid Flash sloshing when welding.)
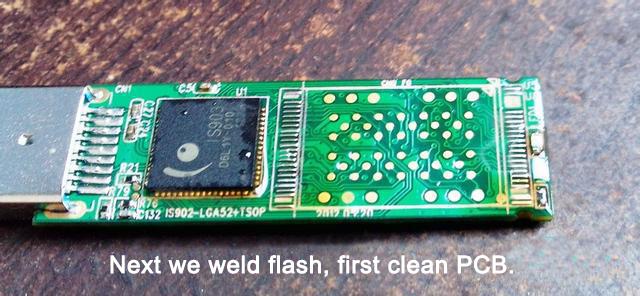
Secondly, preparing two pieces of PCB Board for controllers.
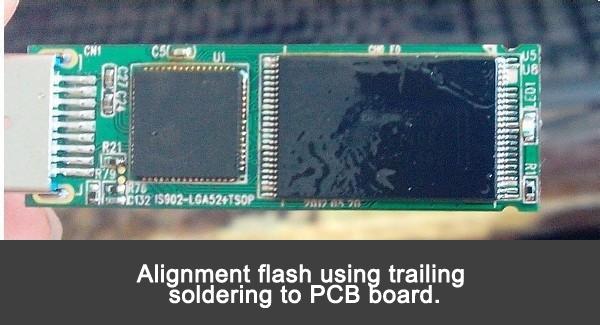
Thirdly, soldering the pad before welding the flash.
Fourthly, using small clips to prevent misalignment after aligning the pins and adopt drag welding.
Fifthly, removing the flux with absolute alcohol after welding.
Sixthly, it is much clean after cleanout. But don't be rush to use it, you need to do mass production, otherwise the computer will not recognize it. Regarding how to do mass production, please search online.
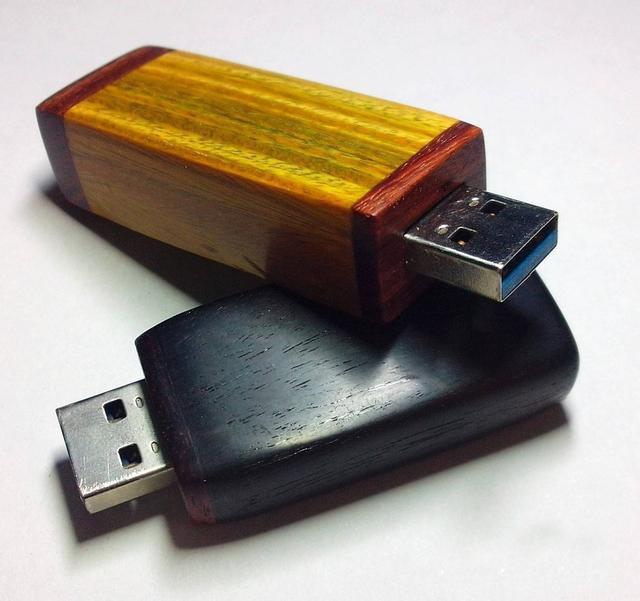
Finally, there is one picture of the finished production, which is high-class with sandalwood shell.